Labels

Showing posts with label MLK day. Show all posts

Tuesday, January 17, 2012

Crafty ways of learning.....Snow people, Paper Dolls!

SNOW DAY!!!

In honor of the first snow day of 2012 the kids and I made "Snow People Paper Dolls" .....wow that is a mouth full.

I really wanted to keep the theme (Everyone is different but equal) from yesterday going and also do something fun for snow day. So playing a little off the theme from yesterday, when the kids and I made our snow people paper dolls, each snow man was exactly the same shape and size but we made sure no 2 were alike. Each snow man/women had his/her our face and clothes.

This is a fun way to help kids develop those much needed cutting skills, and also stick with the theme from MLK day!

Materials:
*White Rectangular paper (Large Construction paper works well)
*Markers or Crayons
*Pencil
* Glue
*Scraps of colored construction paper
*Safety Scissors

Step 1
Make an accordion fold with the white paper. Make the width of the paper (after folds are made) about 3 to 4 inches.

Step 2
Use the pencil to draw the snow man on the paper. Make sure the arms and the bottom of the snow man go a little off the paper on each side.
*You may want to help your little one with the drawing.


Notice how the arms go off the paper and the bottom of the snow man goes off on both sides.

Step 3
Cut out the snow person , cutting all layers of paper at the same time. Make sure NOT to cut the parts that extend off the paper.
* I tole my daughter "ONLY cut the pencil lines. If there isn't a mark your scissors shouldn't touch it."


Annabelle cutting her snow people.

Judge is getting a lot better at cutting.

Step 4
Unfold the paper and draw faces for each figure.


Snow People,

Paper Dolls.

FACES!!!

Step 5
Cut out dresses, scarf shapes, hats, and other things you may want to use to "dress" you snow people.
*IMPORTANT If you are planing this craft for kids under 7 you should REALLY REALLY make the clothes a head of time. It's a great craft but my kids would lose interest VERY quickly if they had to sit and make clothes for an hour. Mom would also probably go crazy from listening to them whine about how the can't do it right or how they need moms help every 5 minutes.


The dresses, hats and scarfs for the snow people.

The clothes took a while to make but the kids really loved them. and they got to add a few touches of their own once they were on their snow people.

Step 6
Decorate your snow people using pre-made clothes, markers, and/or small pieces of construction paper cut into different shapes.


One down 3 to go.

Number 2.

Using markers to draw buttons.

Judge made a comment tonight about his snow people being better than Anna's' which was a great time for mom to remind everyone in the house that no ones was better. They were different, and all beautiful in their own way!

Thank God for washable glue.

Hard at work.

ALL DONE!!!


Annabelle and her snow people.

The best picture I could get of Judge and his snow people.

Made by Judge Comeaux

Made by Annabelle Comeaux

Our BEAUTIFUL Snow People Paper Dolls!

Crafty ways of learning.....MLK day.

I thought about starting a homeschooling blog but after a lot of consideration I have decided to stick with one blog for now. I will post my Homeschooling adventures on our family blog page. So stay tuned!!

MLK (Martin Luther King) day. In honor of MLK day the kids and I did 2 really fun educational crafts.

The first craft of the day was a "Construction paper quilt"

I used craft to show the kids that even though things may be different they can still work together to make something beautiful. We talked about how Dr. King dreamed of a world where people didn't fight and hate people because their skin was different. The kids really seemed to love this craft and it was a great way to get started about MLK day.

Materials:
*Construction paper
*Ruler
*Markers
*Safety Scissors
*Stickers
*Glue

Step 1
Use the ruler to measure and draw squares onto different color construction paper.

Step 2
Have your kids use safety scissors to cut the squares out.
*If you have kids under the age of 4 I recommend cutting theirs a head of time, or have an older sibling help you prepare the craft before hand.


Annabelle 5 cutting her square out.

Almost done.

Judge 4 cutting his square out of construction paper.

Step 3
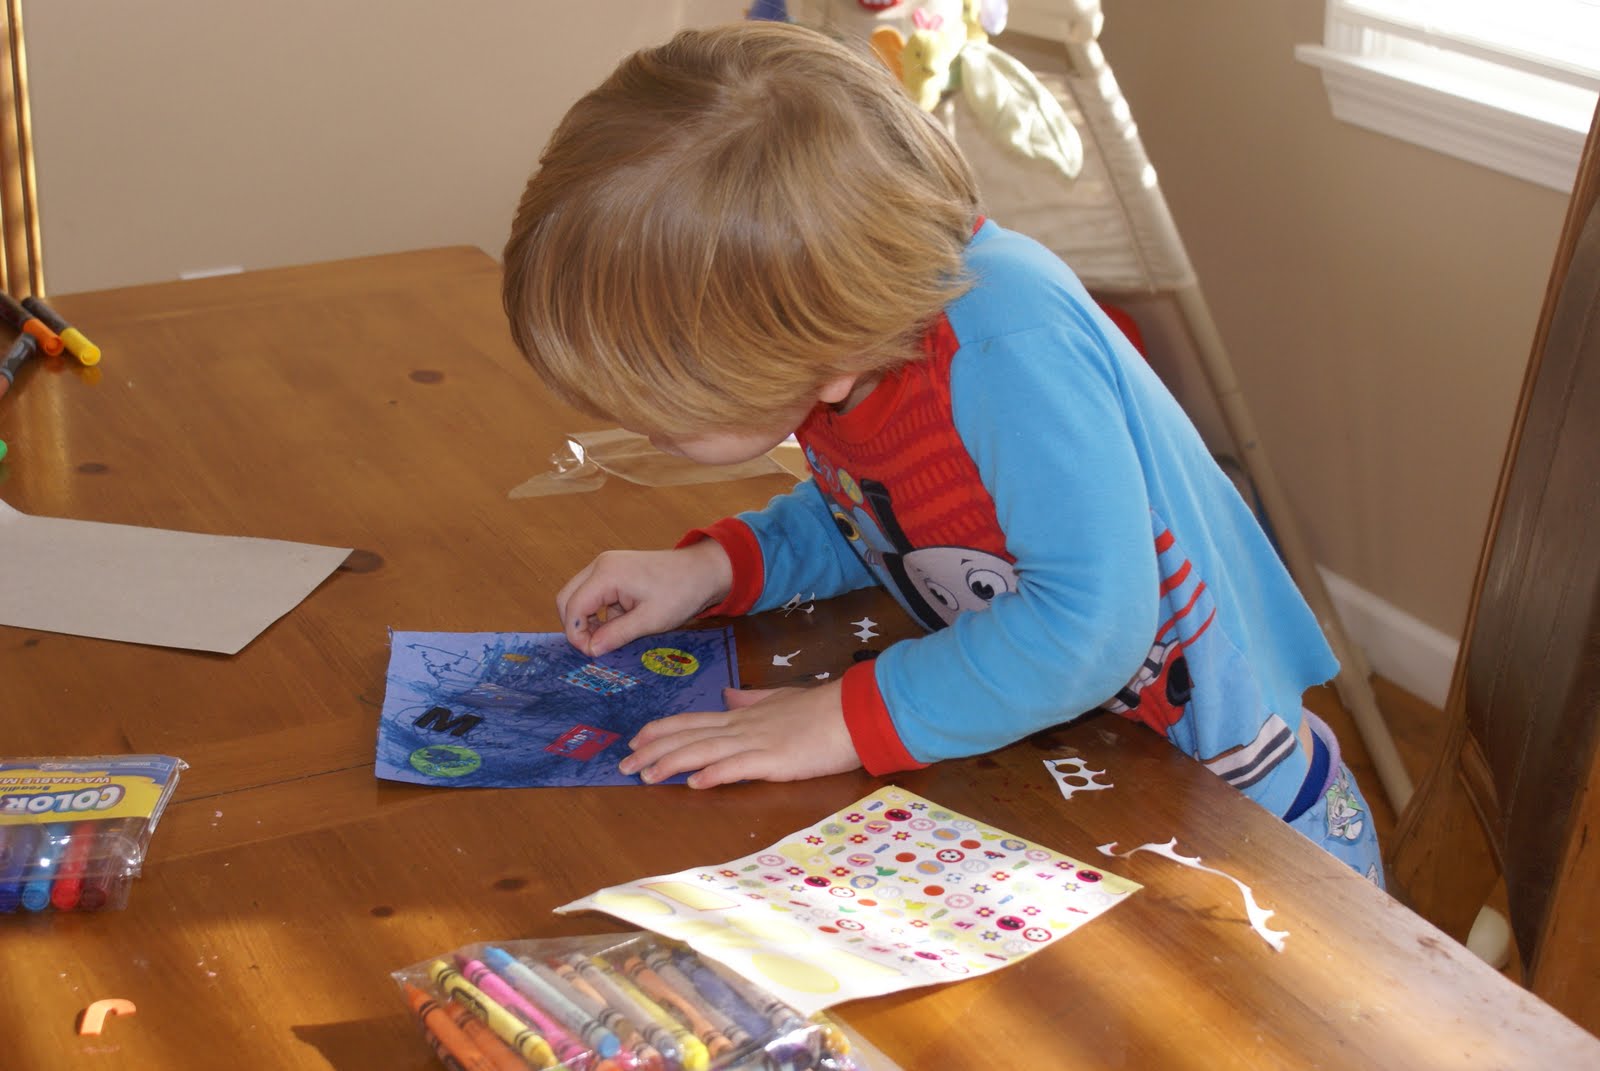
Let your kids use the stickers and markers to decorate their panel of the quilt.
* Other great decorating materials are glitter, pompoms, confetti, and paint.


Annabelle working on her panel.

Polk a dots!

Hard at work.

Judge putting stickers on.

Johnny 2 coloring his panel.

Johnny getting inspiration from his older siblings.

Step 4
Glue all the pieces together to form a quilt.
*Luckily I have 4 kids so with a little help from mom we had a 4 panel quilt. If you have 1 kid you may want to give them 2 panels and then do 2 panels with them. If you have 2 then give each kid 2 panels to decorate.


Annabelle helping mom glue the quilt together.

One more quick note. I used a large sheet of white construction paper to glue them on to form our quilt. If you want you can over lap the pieces to make your quilt.

Our finished product.


Liam/Momma

Johnny

Judge

Annabelle

All different and unique alone.....but put together they are make a BEAUTIFUL quilt.

For craft number 2 today we made "Dream clouds"

My kids love using glue so they had a blast with this craft. To start this craft off I explained the meaning of the "I have dram" speech that Dr. King gave on August 28, 1963 at the Lincoln Memorial in Washington D.C.
The kids and I discussed what Dr. King wanted for the world on that day and how a dream when you are sleeping is different from his dream. It was more like his hope for the future. I asked the kids to think about what they wanted for the future while they worked on their craft.

Materials:
*White construction paper
*Safety Scissors
*Markers
*Glue
*Cotton balls

Step 1
Draw a cloud on a sheet of white of construction paper.
* I used about half the sheet for one cloud.


Step 2
Have your kids cut it out.
*This is a little difficult to cut so for all the kids under 5 I went ahead and cut it before we started.


Annabelle helped me cut the clouds out before we got started.

Step 3
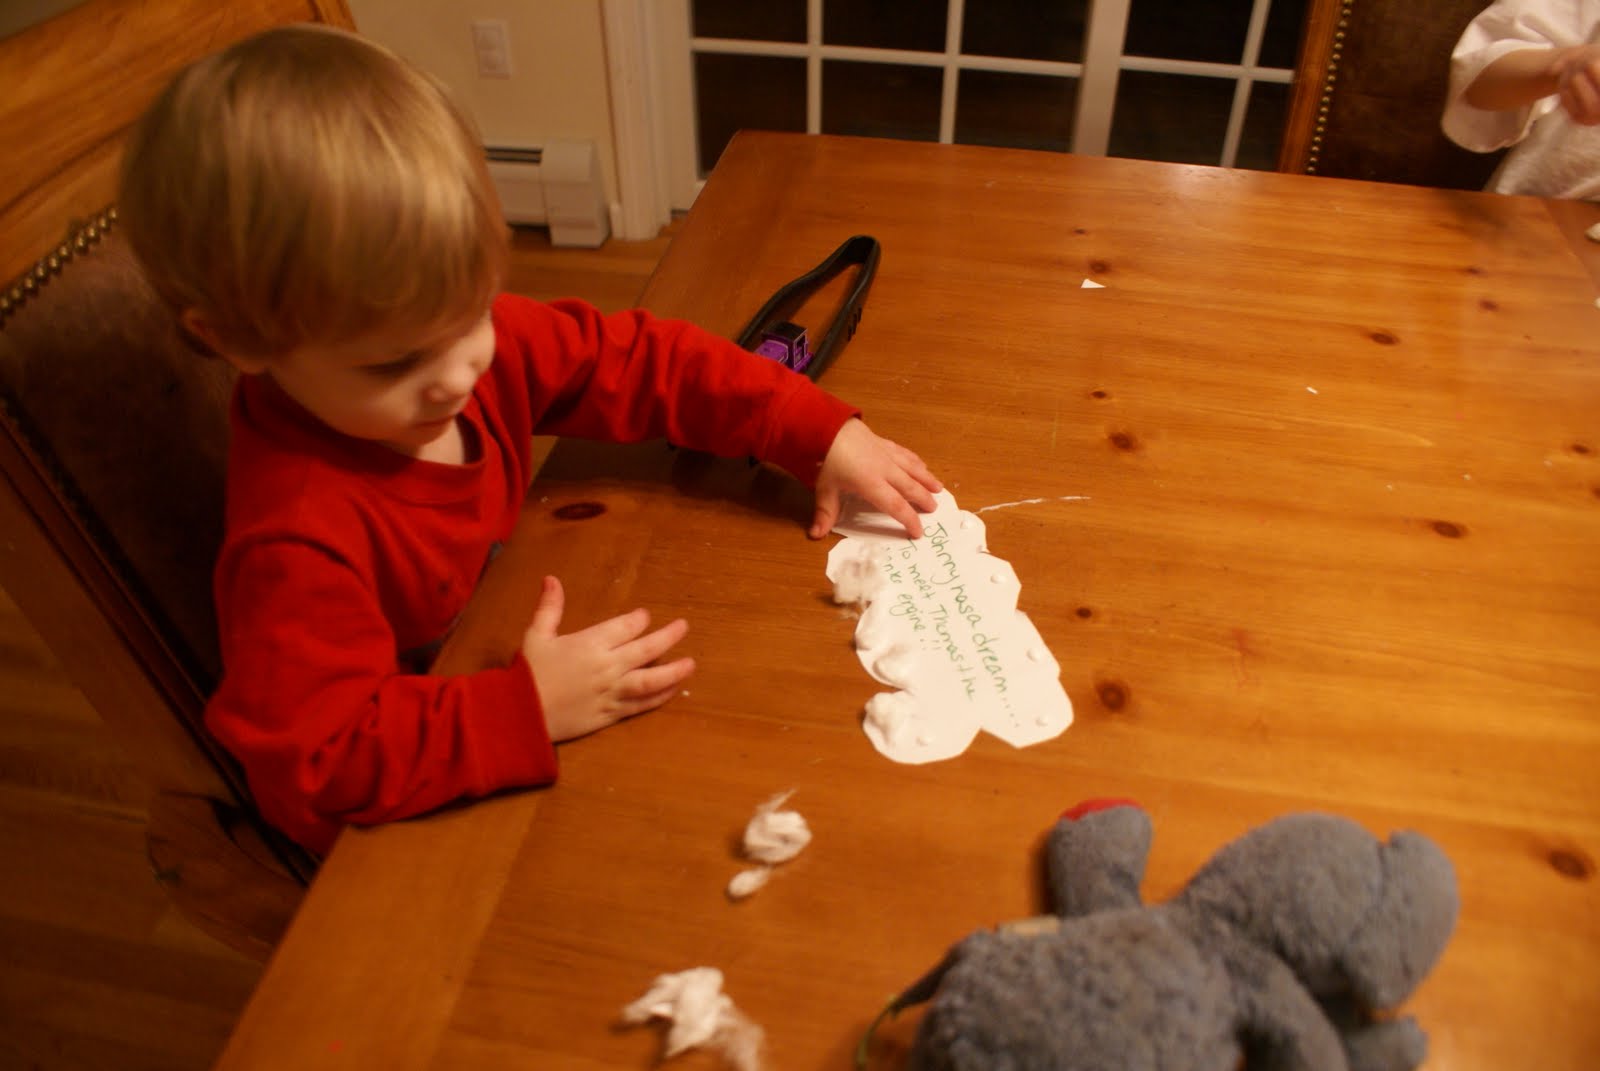
Ask your kids about their hopes and dreams for the future, and write it inside the cloud.


Annabelle has a dream....
To grow up and have good kids. Some day to get married.

Judge has a dream....
To jump on clouds.

Step 4
Let your kids glue the cotton balls around the outside of the cloud.


Bug hard at work.


Judge, Elvis, and his trains working on his cloud.


Johnny even joined in the crafts.

ALL DONE!


Hanging their clouds on the craft tree.

The first Craft to go on our tree.

They did a great job.